Building a Bot with @xmtp/botkit
This guide will take you through the steps to create and deploy a simple bot using the BotKit package.
Prerequisites
- Node.js installed on your machine
- Basic understanding of TypeScript
- An account on Railway for deployment
Setting Up Your Bot Environment
Step 1: Installation
First, install the necessary CLI tool globally using npm:
npx create-xmtp-bot@latest <bot-name>
cd my-bot-name
Configuration
Set your private key and network environment in the .env file:
KEY= # your bot's private key
XMTP_ENV= # production or dev network
Building and Running Your Bot
Install dependencies and run your bot:
# install dependencies
yarn install
# build and run your bot
yarn build
yarn start
# For development with hot-reload
yarn build:watch
yarn start:watch
Step 2: Understanding the index.ts File
The index.ts file contains the main logic for your bot:
import "dotenv/config";
import { run, HandlerContext } from "@xmtp/botkit";

const inMemoryCacheStep = new Map<string, number>();

run(async (context: HandlerContext) => {
  const { content, senderAddress } = context.message;
  const lowerContent = content.toLowerCase();

  if (
    ["stop", "unsubscribe", "cancel", "list"].some((word) =>
      lowerContent.includes(word),
    )
  ) {
    inMemoryCacheStep.set(senderAddress, 0);
    await context.reply(
      "You are now unsubscribed. You will no longer receive updates!",
    );
  }

  const cacheStep = inMemoryCacheStep.get(senderAddress) || 0;
  let message = "";

  switch (cacheStep) {
    case 0:
      message = "Welcome! Choose an option:\n1. Info\n2. Subscribe";
      inMemoryCacheStep.set(senderAddress, 1);
      break;
    case 1:
      if (content === "1") {
        message = "Here is the info.";
      } else if (content === "2") {
        message =
          "You are now subscribed. You will receive updates. Type 'stop' to unsubscribe.";
        inMemoryCacheStep.set(senderAddress, 0);
      } else {
        message = "Invalid option. Please choose 1 for Info or 2 to Subscribe.";
      }
      break;
    default:
      message = "Invalid option. Please start again.";
      inMemoryCacheStep.set(senderAddress, 0);
      break;
  }

  await context.reply(message);
});
This script listens for messages and sends a options like showing info and subscribing logic.
Examples
Explore different types of bots:
- Gm: A basic greeting bot.
- Conversational: Engage users with ongoing conversations and redis subscription
- GPT: Utilize OpenAI APIs for dynamic responses.
Find more examples in the Awesome XMTP ⭐️ repository.
Deployment
Deploy with Railway
Sign Up and Setup: Create an account at Railway and start a new empty project.
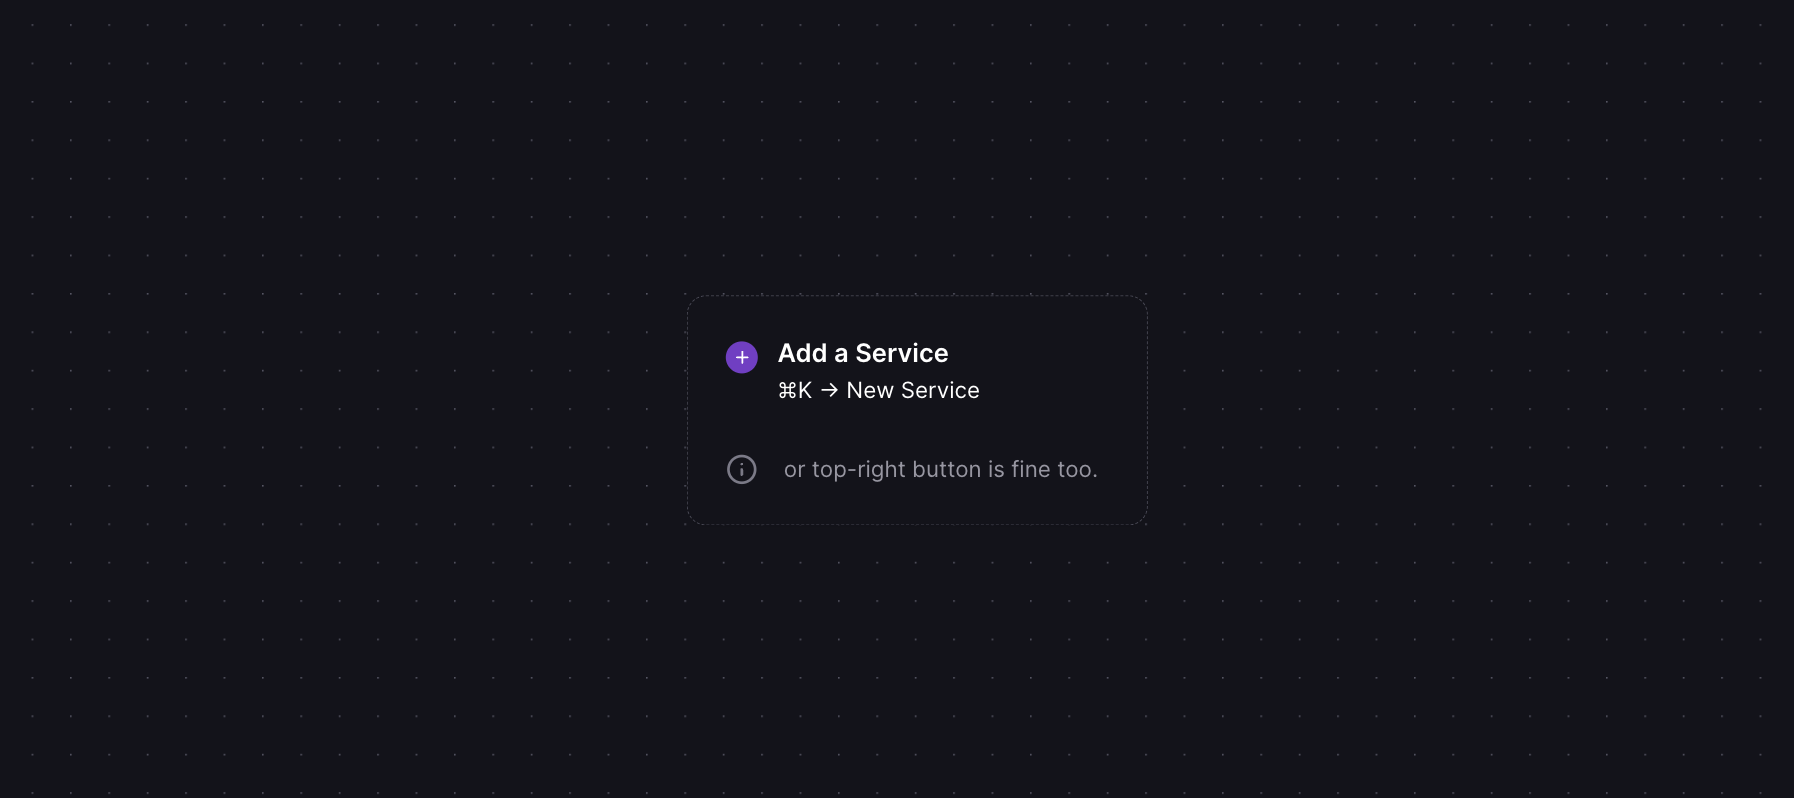
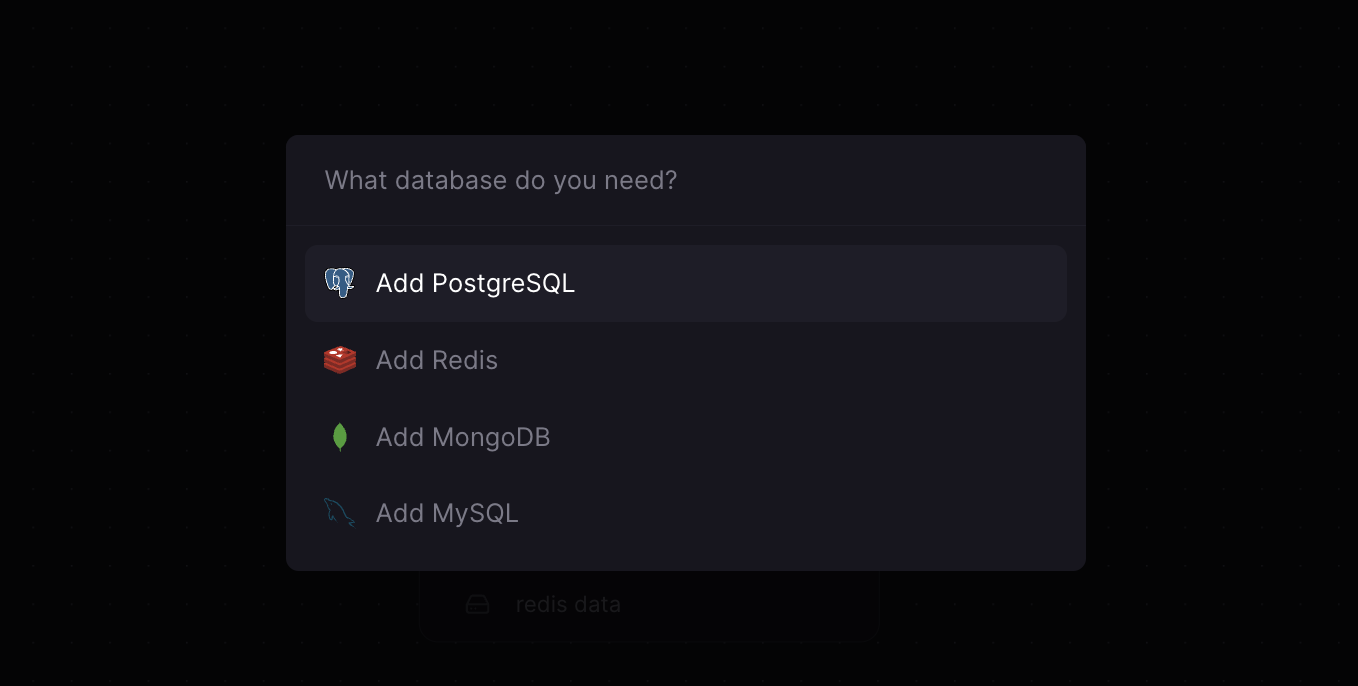
Database (Optional): Optionally, Right click to add a Redis database to your project.
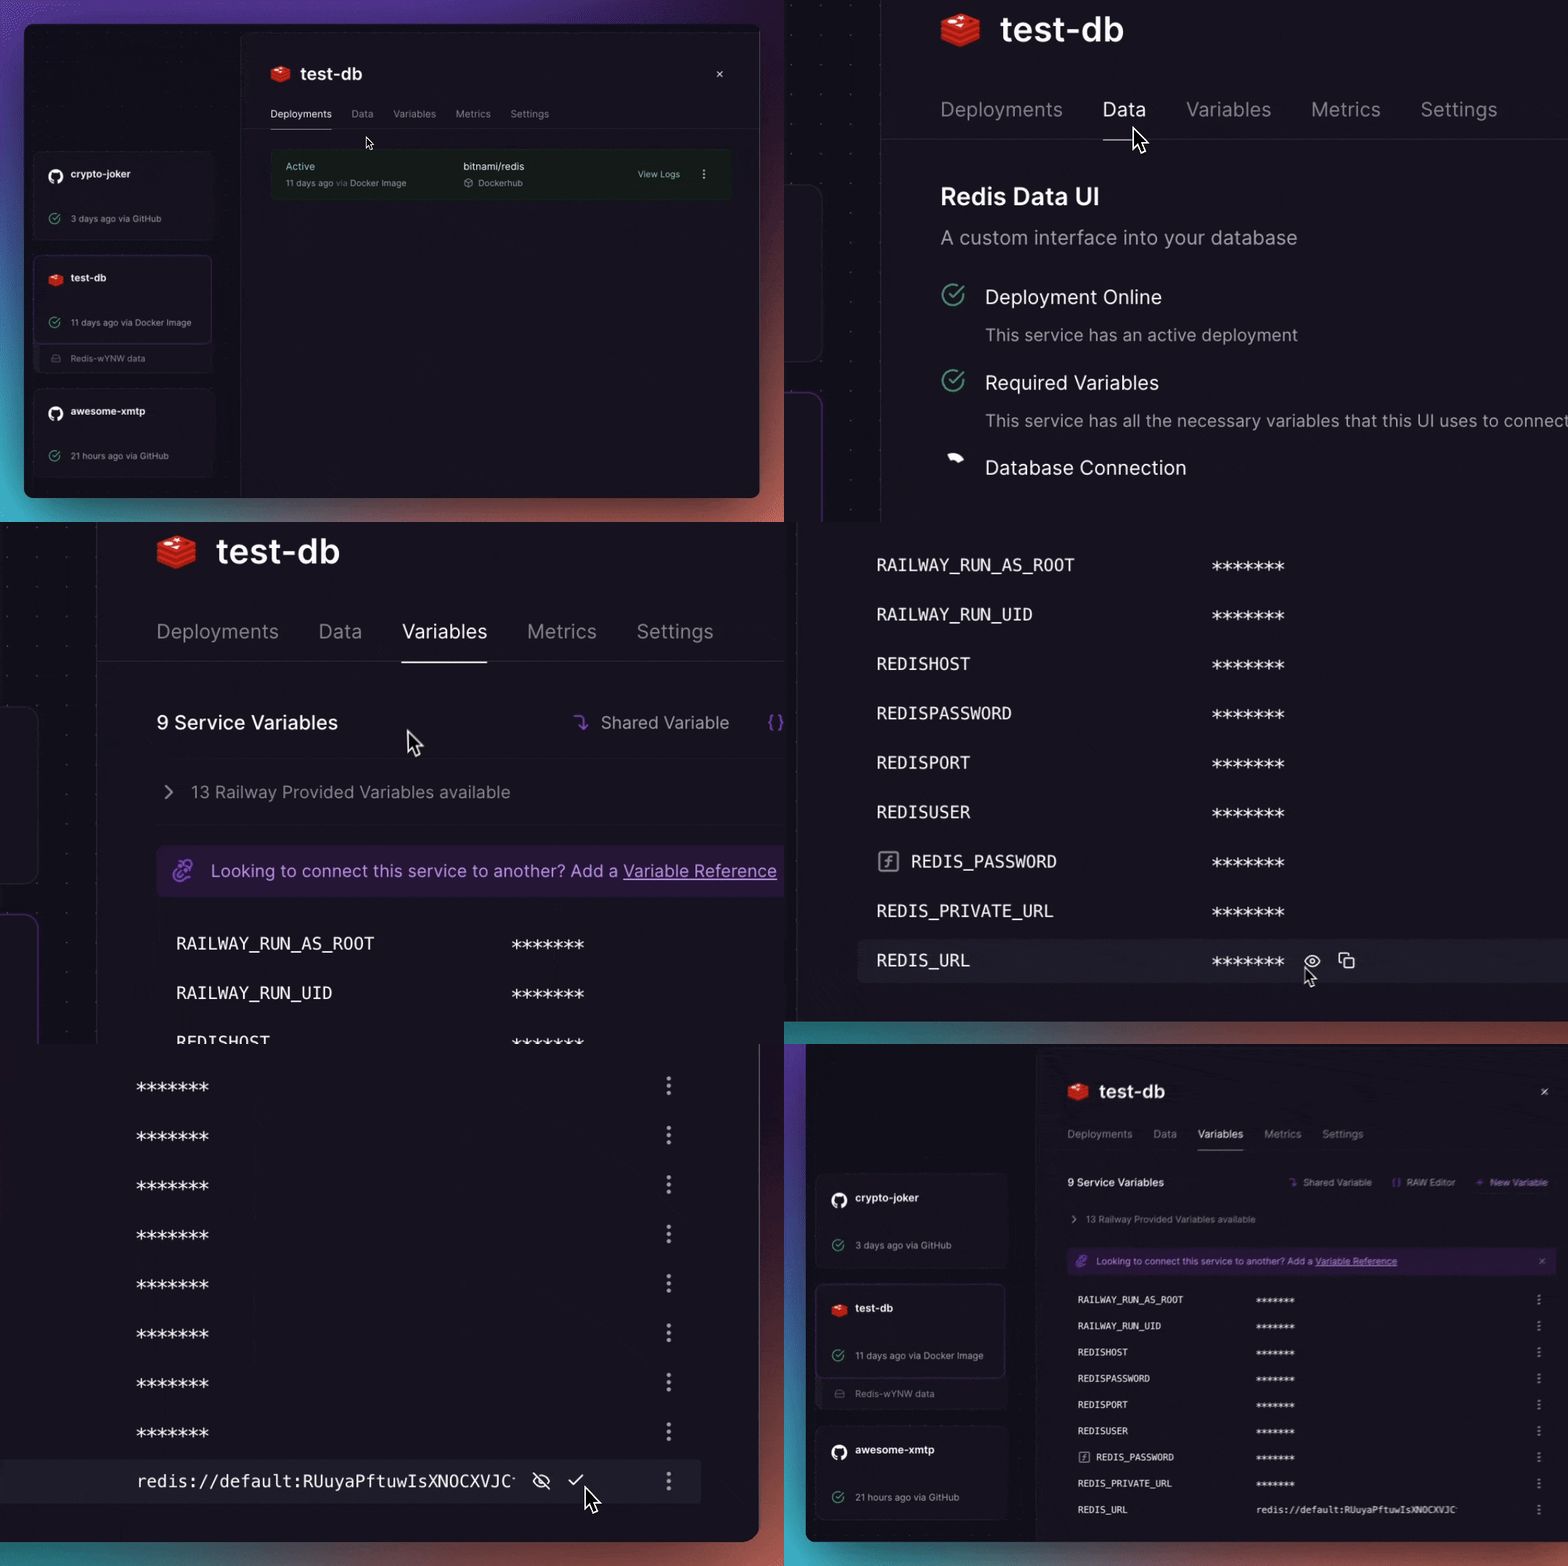
Get the redis connection string
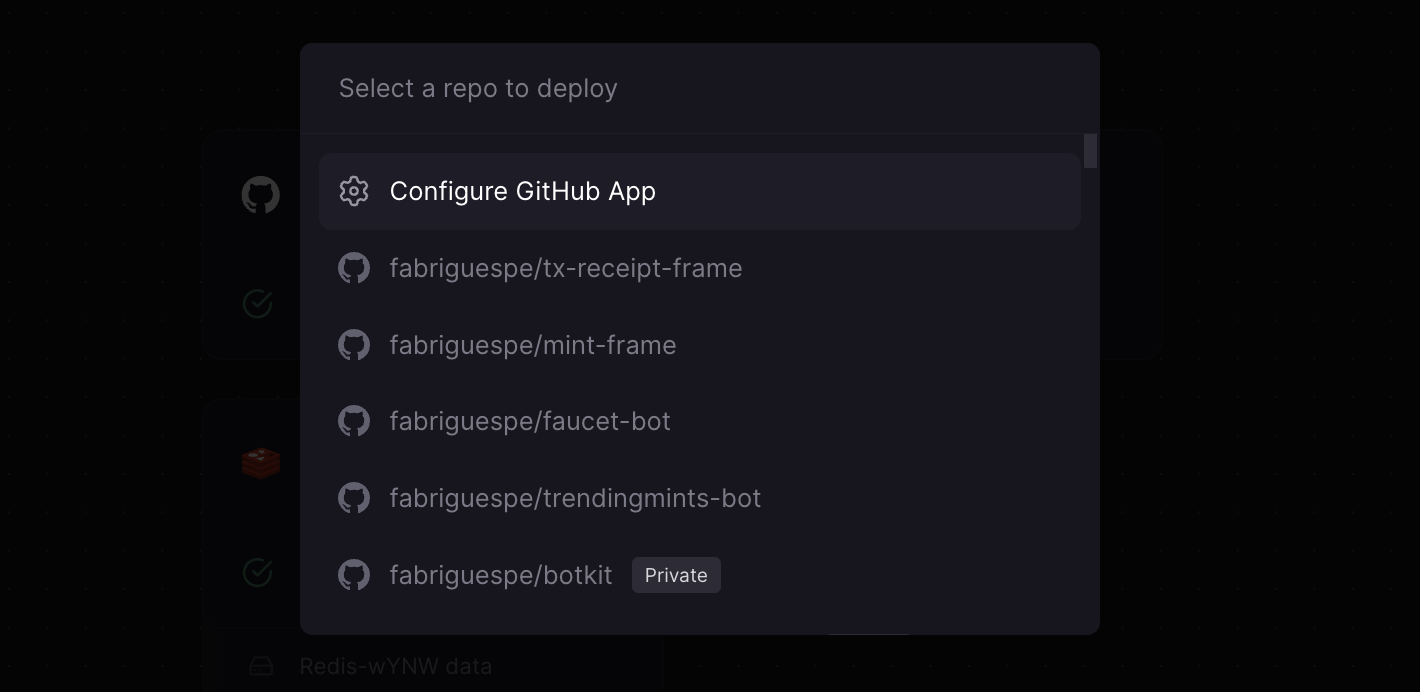
Repository: Connect your GitHub repository where your bot code resides and deploy the repo.
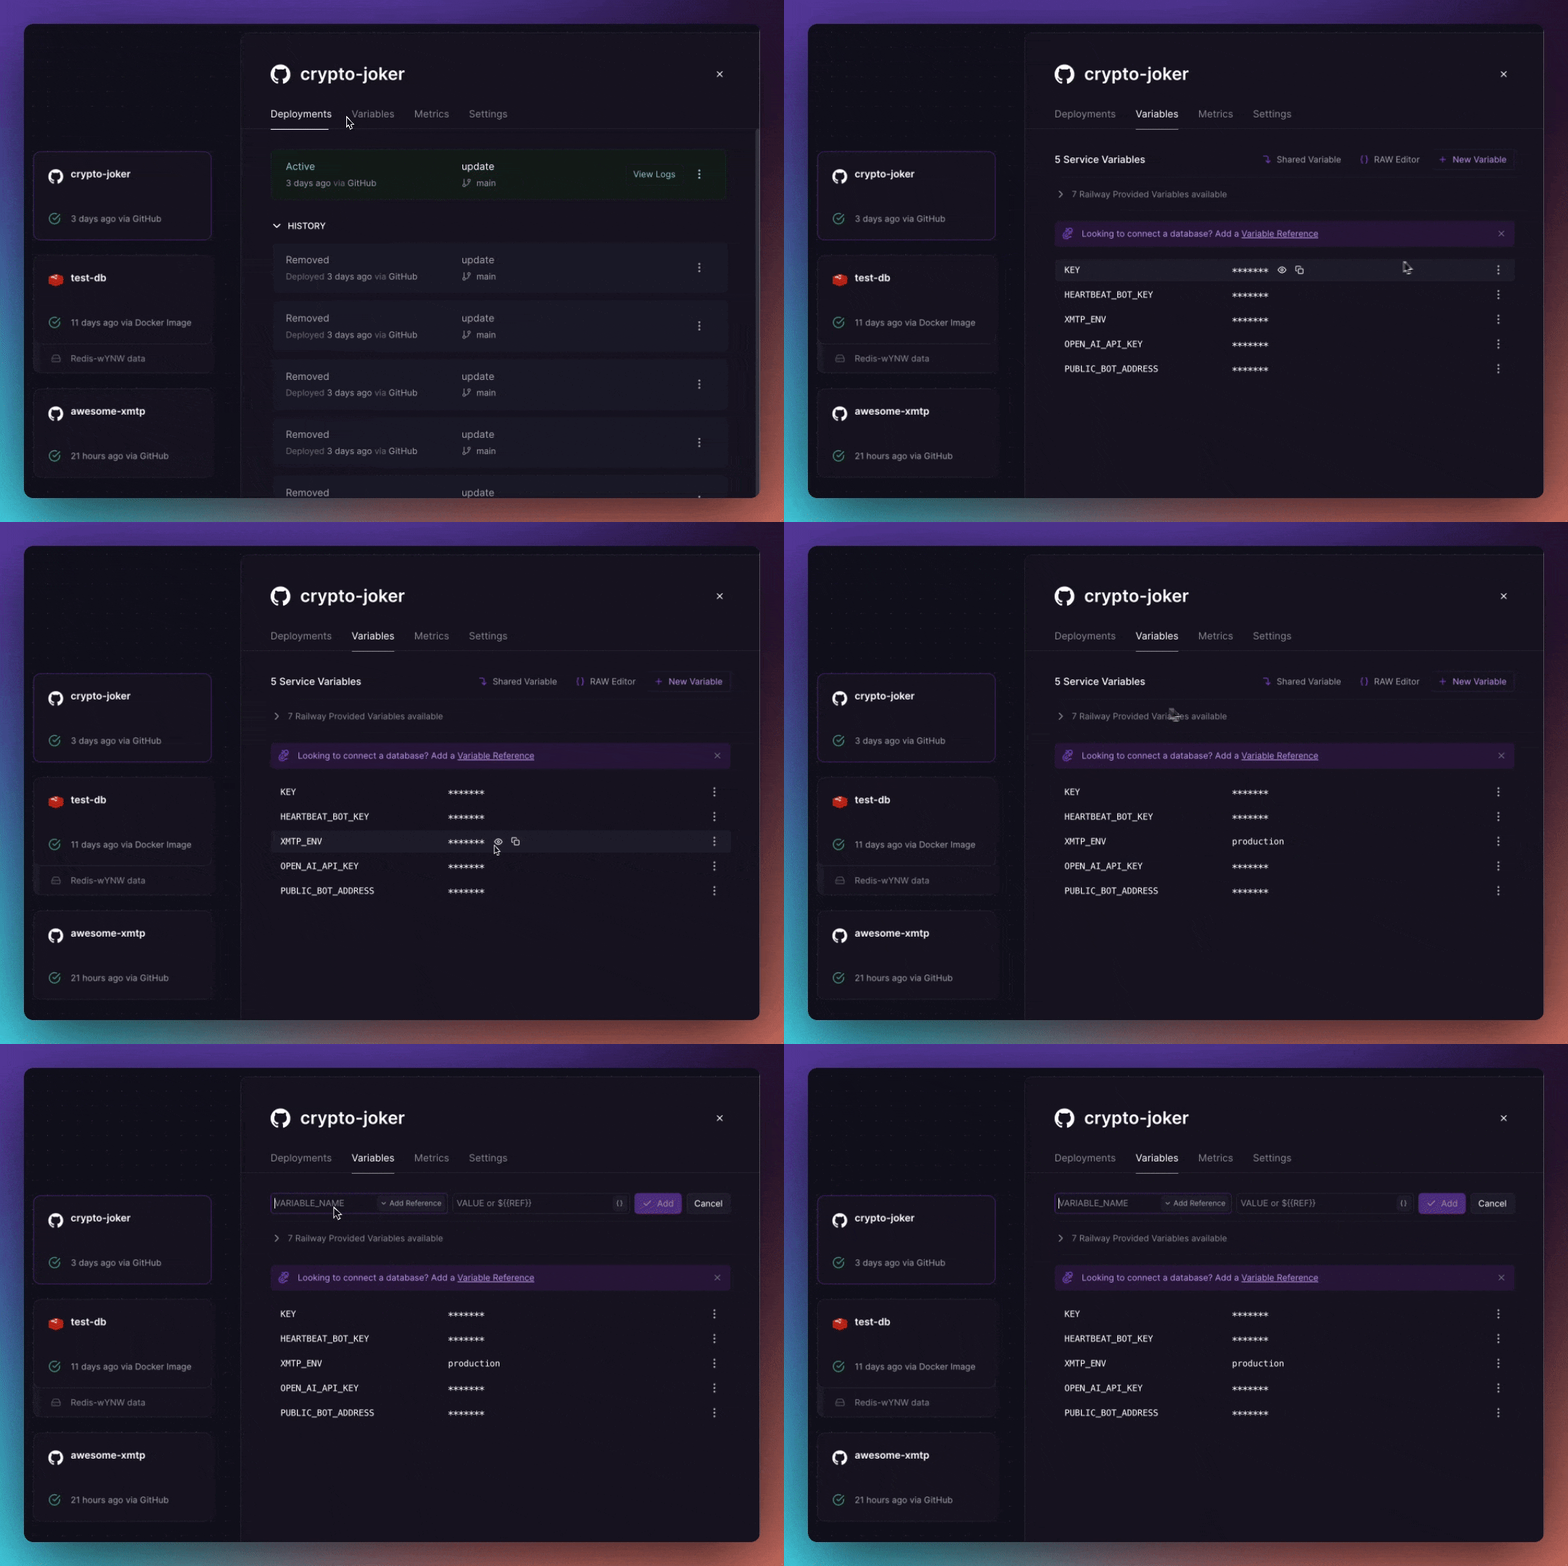
Environment Variables: Set up environment variables in Railway.
Register an ENS Domain
Enhance your bot's identity by registering an ENS domain.
Development and Testing
Clone the botkit repository and set up your development environment:
git clone https://github.com/xmtp/botkit
cd botkit
cp .env.example .env
Configuration
Set your private key and network environment in the .env file:
KEY= # your bot's private key
XMTP_ENV= # production or dev network
Building and Running Your Bot
Install dependencies and run your bot:
# install dependencies
yarn install
# build and run your bot
yarn build
yarn start
# For development with hot-reload
yarn build:watch
yarn start:watch
This tutorial provides you with all the essentials to start building and deploying your own bots using the XMTP framework.

